Showing a video is a comparable alternative to giving a presentation, and Powerpoint 2013 makes it possible for you to generate a video file directly from the existing slideshow. Our guide below will walk you through the steps to save a Powerpoint 2013 file as a video. The steps in this article will assume that you have a Powerpoint presentation that you would like to save as a video file. The exported video will then be available for you to share with other people as a file, or you can upload it to video-sharing sites like YouTube. You will have the option to save the video in either the MP4 or WMV file formats.
How to Save Powerpoint 2013 as a Video
Our guide continues below with additional information on saving a Powerpoint as a video, including pictures of these steps.
Saving as a Video in Powerpoint 2013 (Guide with Pictures)
The steps in this article were performed in the Powerpoint 2013 version of the Microsoft Office application. However, these same steps will work in most other versions of Microsoft Powerpoint, including Powerpoint for Office 365.
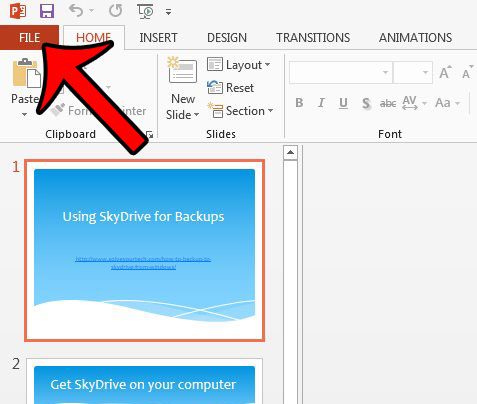
Step 1: Open your presentation in Powerpoint 2013.
Step 2: Click the File tab at the top-left corner of the window.
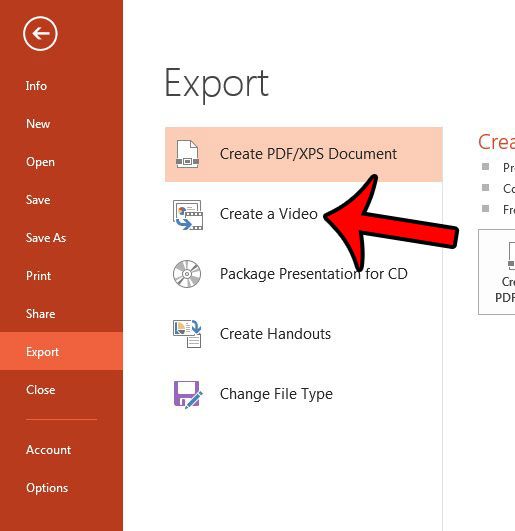
Step 3: Click the Export button at the bottom of the column on the left side of the window.
Step 4: Click the Create a Video option.
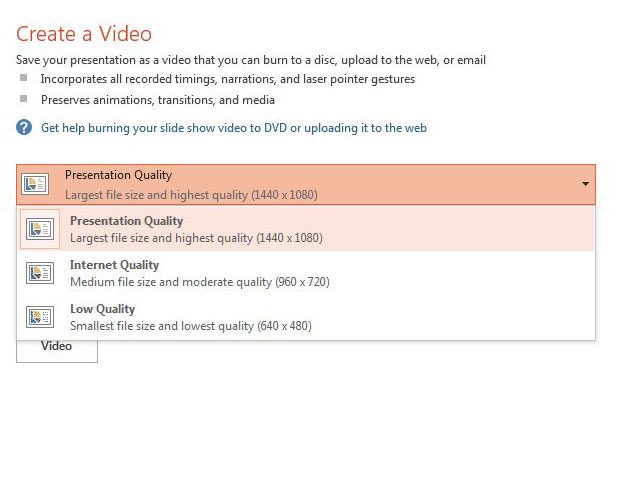
Step 5: Click the Presentation Quality drop-down menu and choose your preferred quality. Note that the higher the quality, the larger the file size.
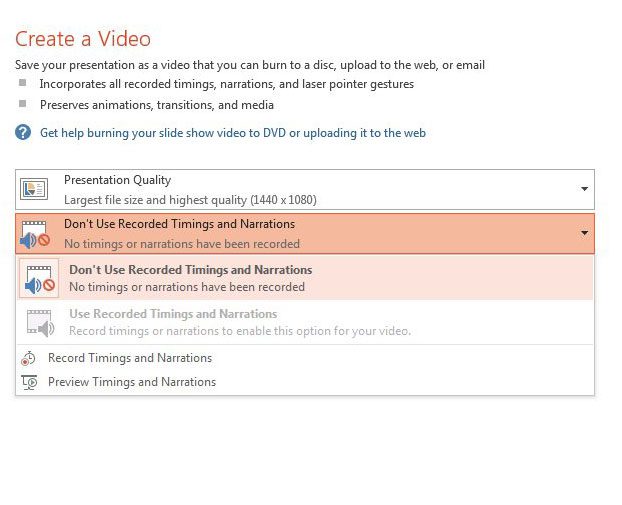
Step 6: Click the Timings and Narrations drop-down menu and select how you would like the timings and narrations for your slideshow to be handled.
Step 7: Click inside the Seconds to spend on each slide field, enter the number of seconds that you would like each slide to be on screen, then click the Create Video button.
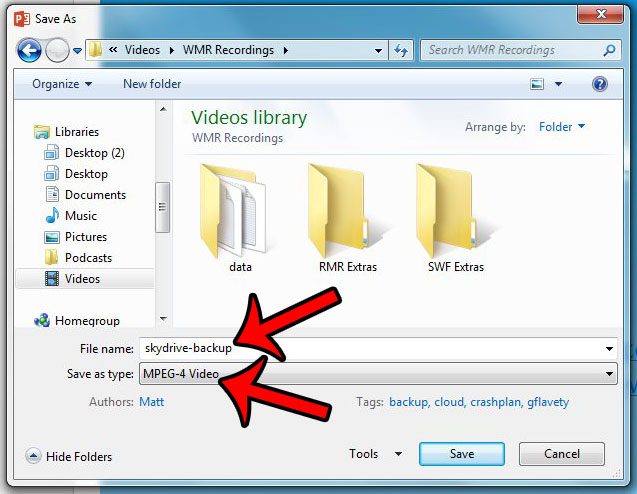
Step 8: Choose a location for the output video, click inside the File Name field and enter a name for the video, click the Save as Type drop-down menu and select the file format for the video, then click the Save button.
Our tutorial continues below with additional discussion on saving a Powerpoint slideshow as a video file.
Am I Able to Choose the Video Quality of the Video File That I Create of My Powerpoint Presentation?
Yes, one of the steps that is part of converting a Powerpoint presentation to a video file involves selecting a video quality. During the video creation process, before you click Create Video and before you choose the video format there is a drop down menu where you specify the desired video quality. Regardless of which quality you choose you will still be able to select either of the video file format options to which Microsoft Powerpoint can convert. And you can always save Powerpoint as video again and create additional exported video files at different resolutions if you find that your first choice was either too large of a file size or too low of a resolution.
More Information on the Question of Can You Save a Powerpoint as a Video in Powerpoint 2013
As we have discussed in the guide above, it is possible for you to create a video file from a Powerpoint slideshow or Powerpoint presentation that you have open in Microsoft Powerpoint 2013. The different quality options that are available when saving a Powerpoint presentation to a video file are:
Presentation quality – Largest file size and highest quality (1440 x 1080)Internet Quality – Medium file size and moderate quality (960 x 720)Low quality – Smallest file size and lowest quality (640 x 480)
The numbers next to each of the different quality options indicate the number of pixels. The more pictures, the better the resolution of the video. Note that images that you have in your slideshow may still appear grainy at higher resolutions if the original image file is a low resolution. Newer versions of Microsoft Powerpoint will let you export to 4K resolution as well. The different file formats for the exported video are:
MPEG-4 VideoWindows Media Video
While many people will be able to view both of those video file types you may want to use the MPEG-4 Video option as it is compatible with most popular media players. If you are exporting your presentation to a video because you want to upload it to YouTube, however, then you will definitely want to use the MPEG-4 file type as YouTube has trouble with the Windows Media file type. Be sure to include recorded timings and narrations for your exported video if you have defined them in your presentation. Otherwise your newly created video will only show each slide for the amount of time that you choose from the Seconds spent on each slide drop-down. Note that Powerpoint videos can be quite large, which can make them difficult to email. You might need to put them on a USB flash drive to transport them, or upload them to a cloud file-sharing service like Dropbox.
Additional Sources
After receiving his Bachelor’s and Master’s degrees in Computer Science he spent several years working in IT management for small businesses. However, he now works full time writing content online and creating websites. His main writing topics include iPhones, Microsoft Office, Google Apps, Android, and Photoshop, but he has also written about many other tech topics as well. Read his full bio here.
You may opt out at any time. Read our Privacy Policy