But most word processing programs, including Word Online, don’t include these page numbers by default. It’s something that you need to add. Our tutorial below will show you how to add page numbers in Word Online so that your document includes automatic page numbering either in the header or footer of your document.
How to Insert Page Numbers in a Word Online Document
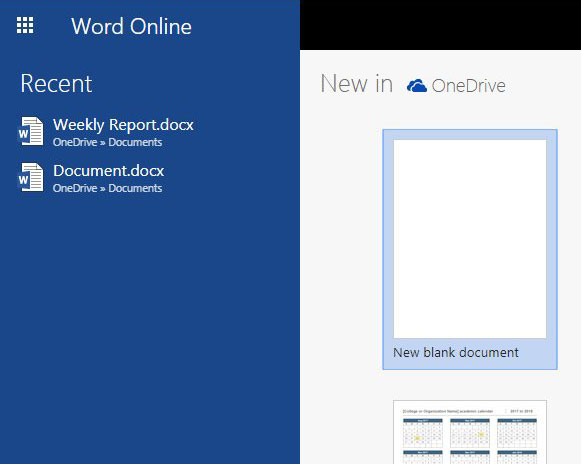
The steps in this article were performed in the desktop version of Google Chrome, but will also work in other desktop Web browsers like Firefox or Microsoft Edge. Once you complete the steps in this article you will have added page number information to the header or footer of your document. These page numbers will update automatically as you add or remove pages in your document, so you don’t need to worry about managing them manually once they have been added. Step 1: Navigate to Word Online at https://office.live.com/start/Word.aspx and sign into your Microsoft Account. Step 2: Open the document to which you wish to add page numbers, or create a new document.
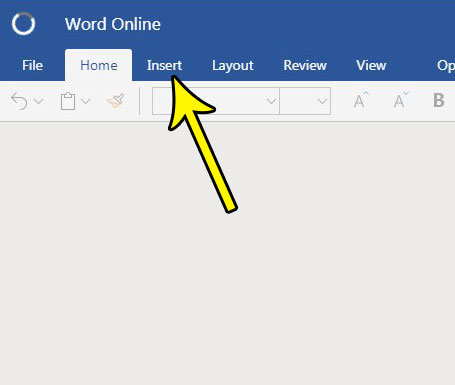
Step 3: Click the Insert tab at the top of the window.
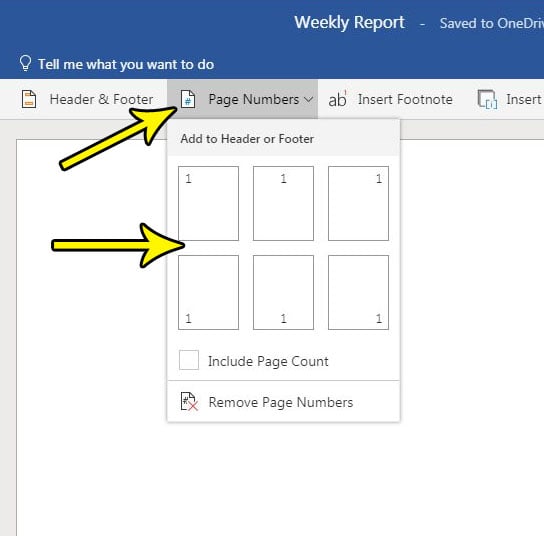
Step 4: Click the Page Numbers button in the ribbon, then select the location that you wish to use for your page numbers.
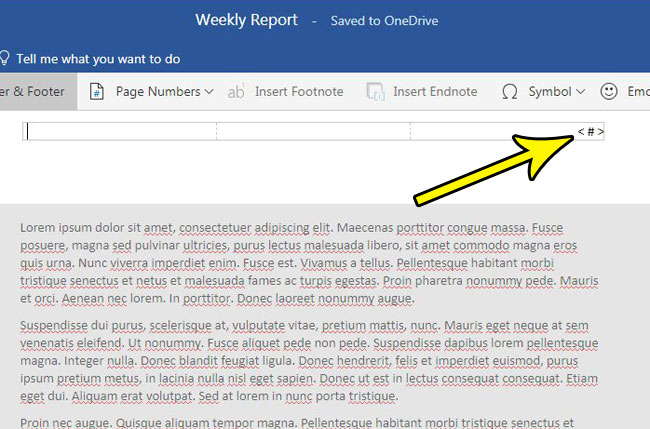
You should then see something like the screen below to let you know that the page numbers have been added.
You can click inside the body of the document to exit header view and return to editing your document. If you would like to see how the page numbers look, press Ctrl + P on your keyboard to open the Print dialog. Does your document require special formatting, particularly for the margins? Find out how to change margins in Word Online if your document’s current margins are too big or too small. He specializes in writing content about iPhones, Android devices, Microsoft Office, and many other popular applications and devices. Read his full bio here.


