You might already be familiar with adding pictures of videos, as well as tables, but you might not have had a reason to add a text box to a document yet. While you can format document text in a lot of ways, you may need to position it in the document in a manner that the regular text cannot accommodate. Luckily you can follow the steps in our tutorial below to insert a text box in your Microsoft Word document.
How to Create a Microsoft Word Text Box
Our guide continues below with additional information on how ot make a text box in Microsoft Word 2013, including pictures of these steps. Word 2013 documents can come in many different styles, and the large number of objects and formatting choices that are available will typically allow you to create the type of document that you need. One commonly used object in Word 2013 is the text box. A text box is a small box that you can add to a document, then format separately from the rest of the content in that document. The text box can be dragged to any position, and there are several styles from which you can choose. Our guide below will show you how to insert a text box into a Word 2013 document, then point out some of the basic formatting options available for that text box. You can also read our guide on how to put a text box in a Google Doc if you also use the Google word processing application.
How to Add a Text Box to a Document in Word 2013 (Guide with Pictures)
The steps in this article will show you how to add a text box to a document in Microsoft Word 2013. These steps are very similar for Microsoft Word 2007, 2010, and 2016.
Step 1: Open your document in Word 2013.
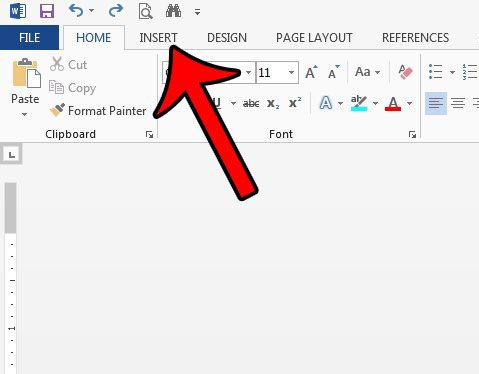
Step 2: Click the Insert tab at the top of the window.
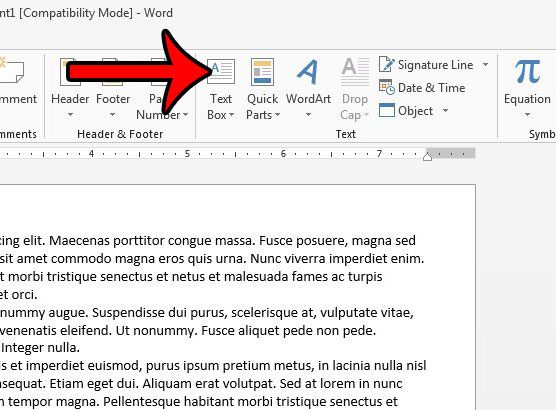
Step 3: Click the Text Box button in the Text section of the ribbon.
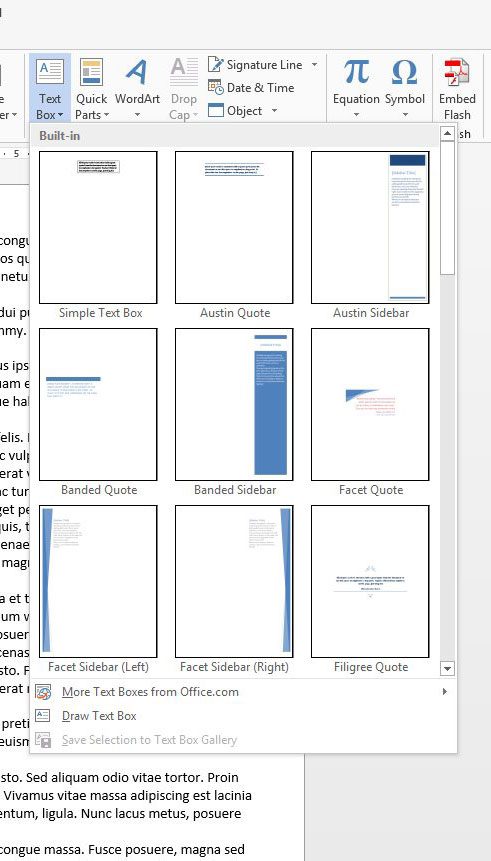
Step 4: Select the style of text box that you would like to use.
Step 5: Delete the default text, then type the information that you would like to include.
You can click and hold on the border of the text box to drag it around to a different location in the document. The text in the document will move automatically to accommodate the text box. You can expand or shrink the text box by clicking and dragging on one of the boxes around the perimeter of the box, and you can rotate the box by clicking and dragging the circular arrow at the top of the box. Now that you know how to insert a text box in Microsoft word 2013 you will be able to use this tool whenever you want to place text in a document in an atypical manner, such as over a picture or other object. If you right-click on your text box, there are a number of formatting options from which you can choose. For example, this article will show you how to mirror the text in a text box.
Additional Sources
After receiving his Bachelor’s and Master’s degrees in Computer Science he spent several years working in IT management for small businesses. However, he now works full time writing content online and creating websites. His main writing topics include iPhones, Microsoft Office, Google Apps, Android, and Photoshop, but he has also written about many other tech topics as well. Read his full bio here.
You may opt out at any time. Read our Privacy Policy