If you want to create your own calendar, you can do this using Google Sheets. Creating your own calendar gives you far more control over exactly how your calendar looks and functions. You can use it online or print it off to use as a pen-and-paper desktop calendar. If you want to make a calendar in Google Sheets, here’s what you’ll need to do.
Using a Google Sheets Calendar Template
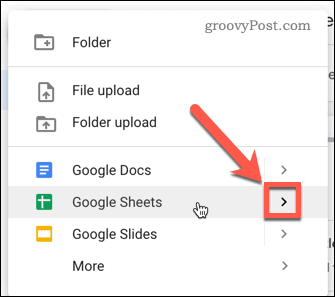
The simplest way to create a quick and easy calendar in Google Sheets is to use one of the ready-made templates available to users. To do this, head to the Google Drive website—you’ll need to sign in if you haven’t already. Once you’re signed in, click the New button on the left to create a new document.
Select Google Sheets and hover over the > symbol.
From the pop-up menu, select From a template.
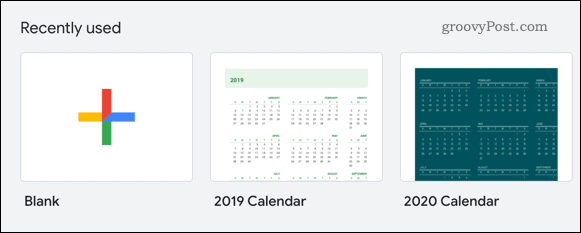
Choose one of the calendar templates—a new sheet will be created containing your chosen calendar design.
Creating a Calendar from Scratch
Any document you create from a template can be edited to suit your needs, but you might be looking to create a calendar with a design that differs from the available templates. If this is the case, you’ll need to create your calendar from scratch.
Adding Days to a Custom Google Sheets Calendar
To start, open a blank Google Sheets document. You’ll need to insert the days of the week to begin—choose the starting cell for your calendar, and type a day you want to start with.
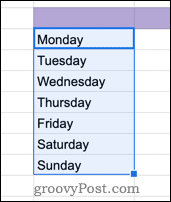
Select the cell you’ve just typed in, then press and hold down the small square in the bottom right-hand corner of the cell.
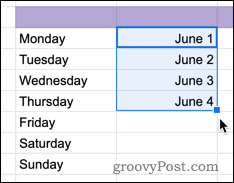
Drag the cursor horizontally or vertically to fill additional cells with days of the week. In this example, we’ll have our days of the week arranged vertically.
You can continue dragging as far as you want if you want to create an entire month or even year of dates.
Adding Dates to a Custom Google Sheets Calendar
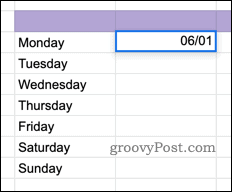
Next, we need to add the date. Checking that you have the cell for the correct day of the week, type the date in the format [month]/[date].
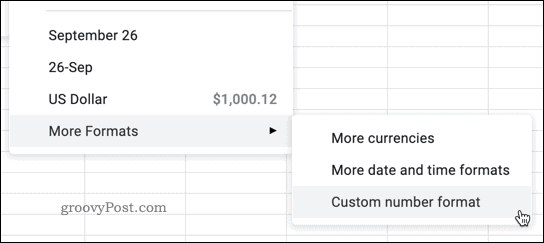
If you use a different date format, go to File > Spreadsheet settings and change the locale to your own. This will change various default formatting options to match your locale, including date formats and local currency. Next, click on the initial date cell to select it, then press Format > Number > More Formats > More date and time formats to change how the date is displayed.
Select the cell you’ve just edited, press and hold the small square in the bottom-right corner of the cell, then drag downwards to fill your calendar with dates.
You now have a basic structure to your calendar in place, with named days and dates provided. You can expand it further by adding columns containing other important data. If you want to make your calendar look a little cleaner, you can hide gridlines in Google Sheets, too.
Creating a Google Sheets Calendar
As we’ve shown above, creating a Google Sheets calendar is an easy process. It offers a good alternative to using paid-for apps or online services, as you’re able to use Google Sheets in offline mode. Creating a calendar in Google Sheets also allows you to make use of the other Google Sheets features. For example, you can set up your spreadsheet to send an email based on a cell value. If your calendar is shared, you could set alerts to tell you when a task has been completed by updating cells from pending to complete. You can also control exactly which other users can edit sections of your calendar by learning how to lock cells in Google Sheets, letting you share it with other users.
![]()


