Fortunately you can not only add new page breaks whenever you want to, you can also delete them. Our guide below will show you how to remove a page break in an Excel 2013 so that Excel will insert its own page breaks automatically.
How to Delete a Manual Page Break in Excel 2013
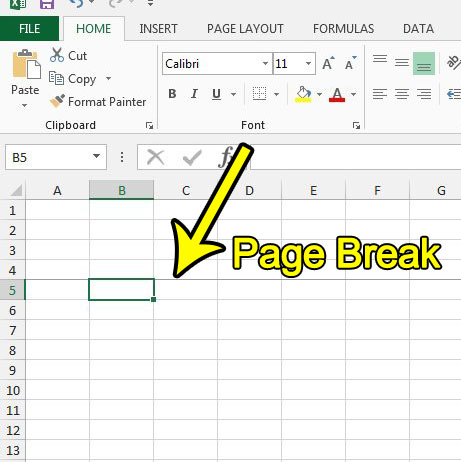
The steps in this guide were performed in Microsoft Excel 2013. This guide will show you how to delete a page break, either horizontal or vertical, that was automatically added to your spreadsheet. This will not affect the placement of page breaks that occur naturally when Excel has reached the capacity of the printed page. If you would like to see other options for formatting printed spreadsheets in excel 2013, you can read this guide to printing in Excel. Step 1: Open the spreadsheet containing the page break that you want to remove. Step 2: Click in a cell below the horizontal line break, or to the right of a vertical page break. I am removing a horizontal page break in the image below.
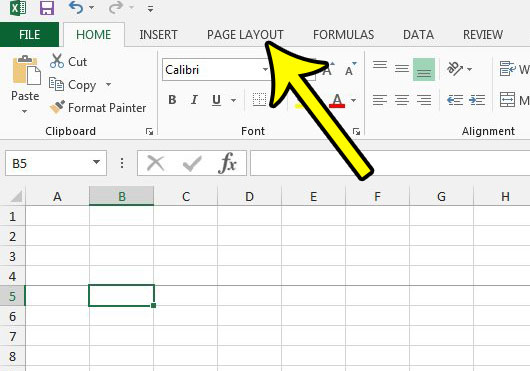
Step 3: Click the Page Layout tab at the top of the window.
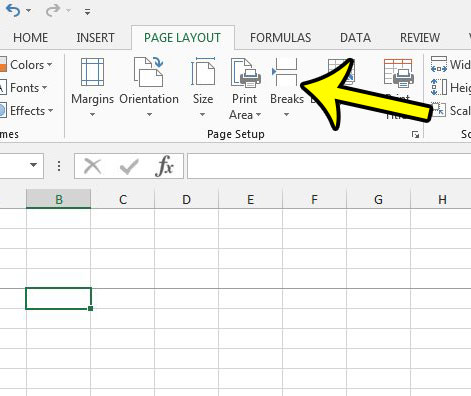
Step 4: Click the Breaks button in the Page Setup section of the ribbon.
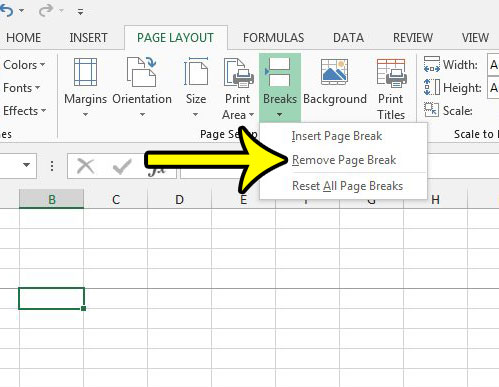
Step 5: Click the Remove Page Break option.
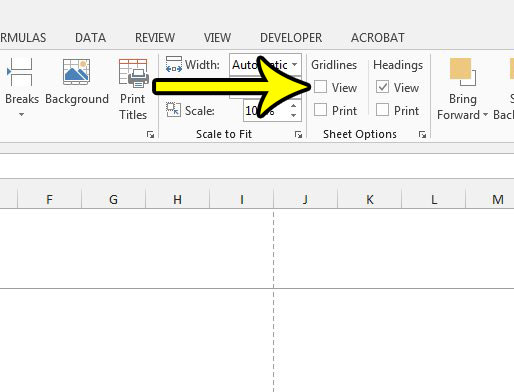
Tip: If you are having trouble seeing a page break, you can hide the gridlines by clicking the Page Layout tab at the top of the window, then removing the check mark to the left of View under Gridlines.
Are there a lot of manually-inserted page breaks in your spreadsheet, and you would prefer not to remove that all individually? Learn how to remove all of the page breaks from a spreadsheet in Excel 2013 for a method that is a little more complete. He specializes in writing content about iPhones, Android devices, Microsoft Office, and many other popular applications and devices. Read his full bio here.
