If you decide you don’t like Windows 11 or have issues with it and want to go back to Windows 10, you can easily do so within 10 days of upgrading. If you wait more than 10 days, you’ll have to reinstall Windows 10. You will have to reinstall some software after rolling back to Windows 10, but your data should be preserved. However, it’s a good idea to back up your data anyway. If you’re using a laptop, it’s also a good idea to keep it plugged in while the rollback happens.
How to Roll Back to Windows 10
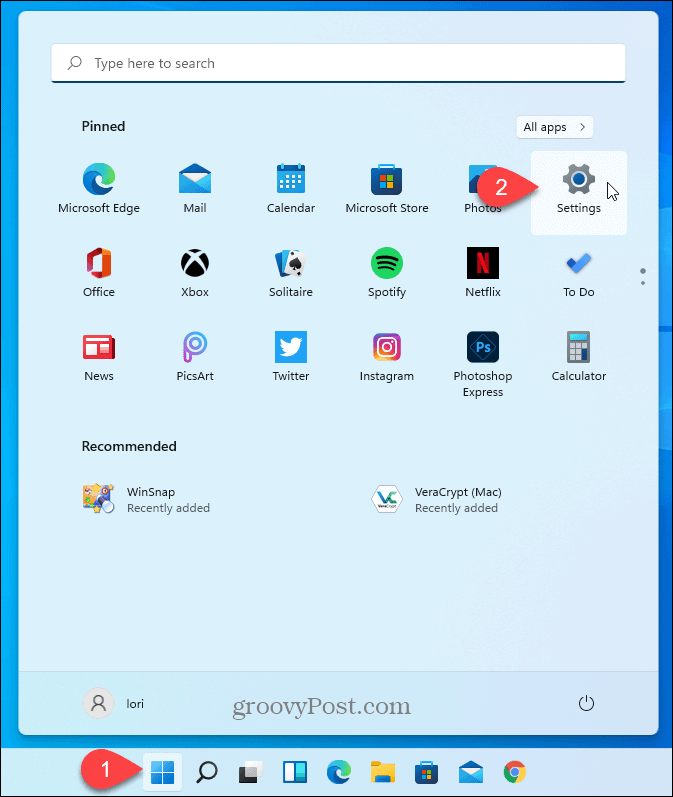
To roll back to Windows 10, go to Start > Settings in Windows 11.
Go to Windows Update and select Advanced options.
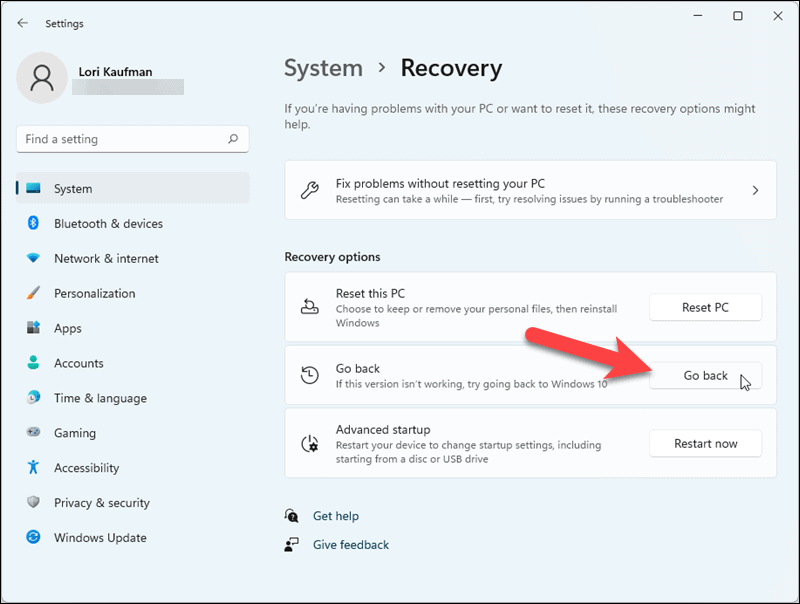
Click Recovery on the Advanced options screen.
Click Go back on the Recovery screen. If you’ve waited more than 10 days since upgrading to Windows 11, the Go back option is grayed out and not available.
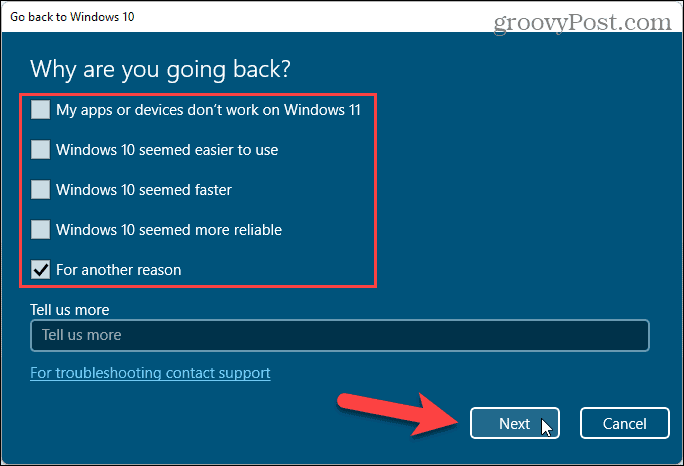
Microsoft wants to know the reason for rolling back. Select an option. You can give them more information if you want in the Tell us more box. Click Next.
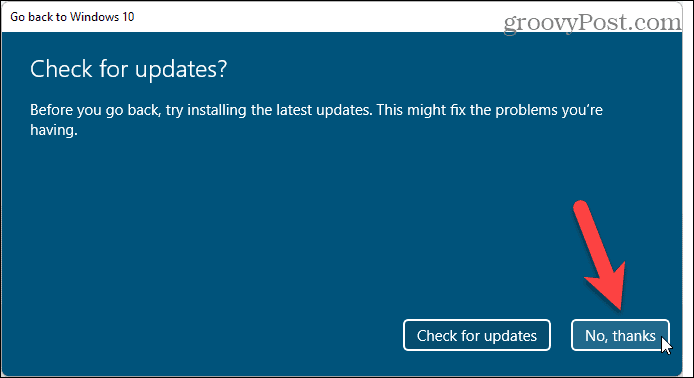
Next, Microsoft suggests that you check for updates before giving up on Windows 11. If you would rather check for updates to see if an update will fix any issues you’re having, click Check for updates. Otherwise, to continue rolling back, click No, thanks.
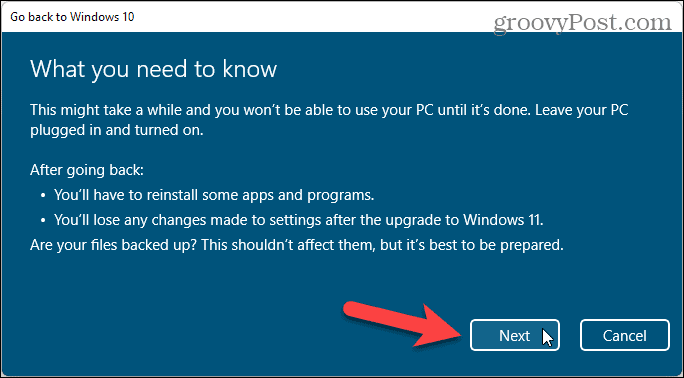
Microsoft warns you about having to reinstall some apps and programs after rolling back and that you’ll lose changes you made in Settings. They also remind you to back up your data. Click Next to continue.
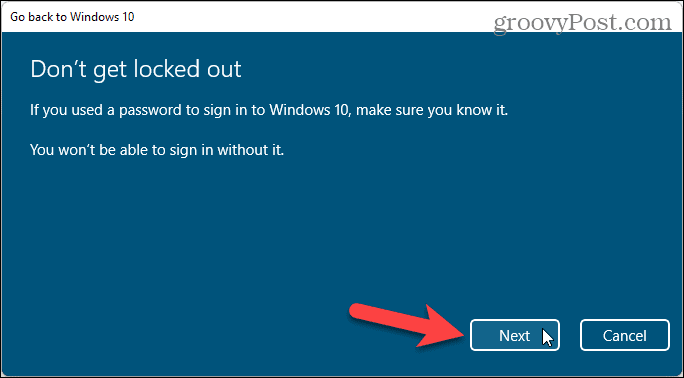
Make sure you know the password for your Windows account. You’ll need to enter it once the rollback is done. We recommend you store it in a password manager. Click Next.
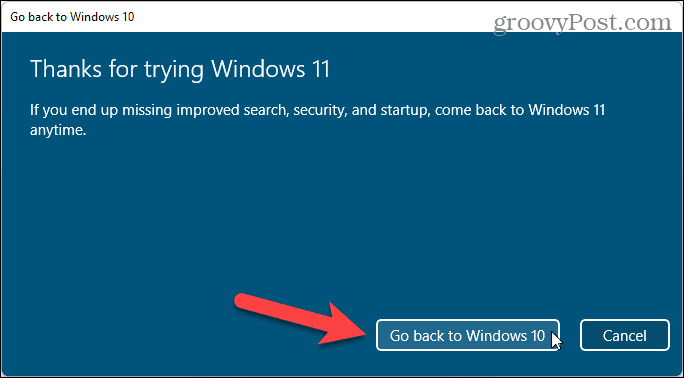
Finally, click Go back to Windows 10.
Your computer will restart, and you’ll be restored to Windows 10.
Once the restore process is finished, you’ll see the Windows 10 login page. Enter your password to log in. Your personal data should be safe, and you can start installing any removed apps in the rollback process.
How to Stop Getting Preview Builds
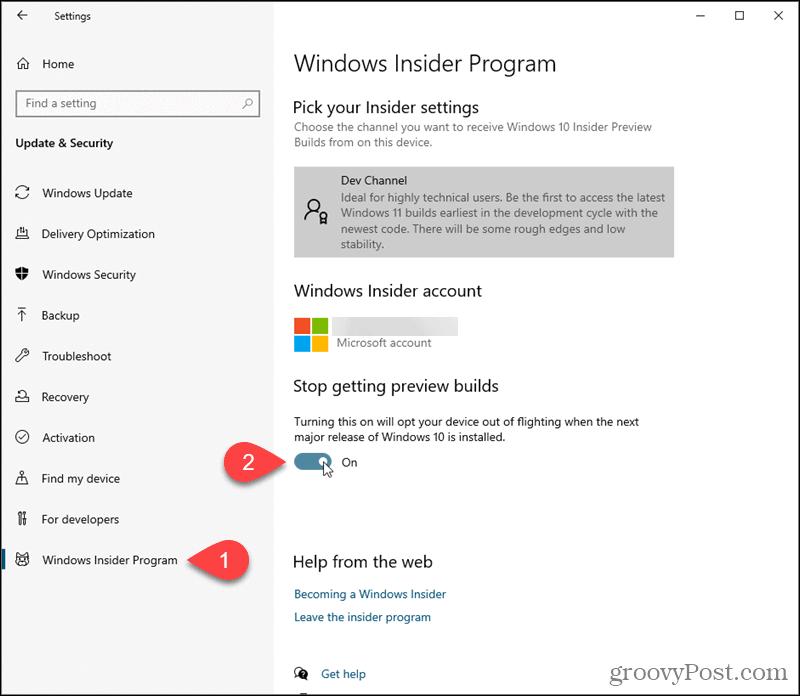
If you rolled back because of issues with Windows 11, you might want to stop getting Windows Insider builds so you don’t keep getting notified about updates to Windows 11. Go to Start > Settings > Update & Security > Windows Insider Program. Click the slider button under Stop getting preview builds, so it turns blue and reads On. Close Settings.
How to Go Back to Getting Release Preview Builds for Windows 10
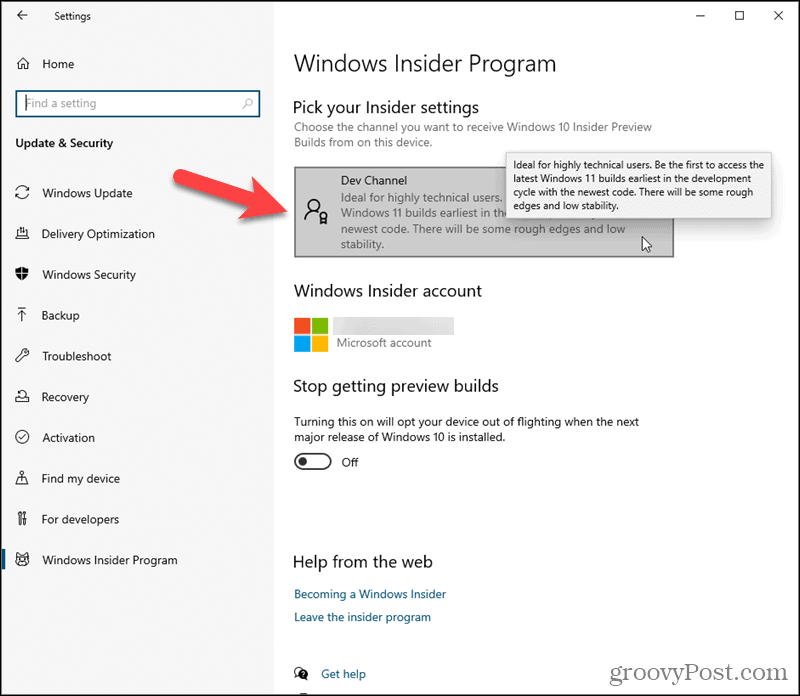
If you want to stay in the Windows Insider Program but only get early updates to Windows 10, go to Start > Settings > Update & Security > Windows Insider Program. Click Dev Channel under Pick your Insider settings.
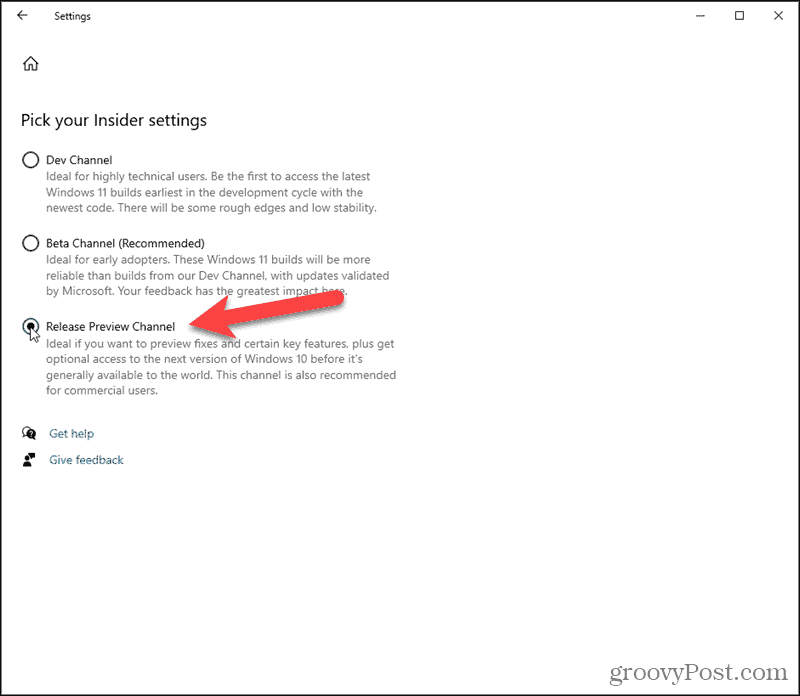
On the Pick your Insider settings screen, click Release Preview Channel.
Close Settings. Now, you’ll get early access to updates for Windows 10 only. Stay tuned. We’ll have a lot more coverage on Windows 11, including news, tips, tricks, and how-tos. Comment Name * Email *
Δ Save my name and email and send me emails as new comments are made to this post.


![]()
