Windows 10 Mouse Settings
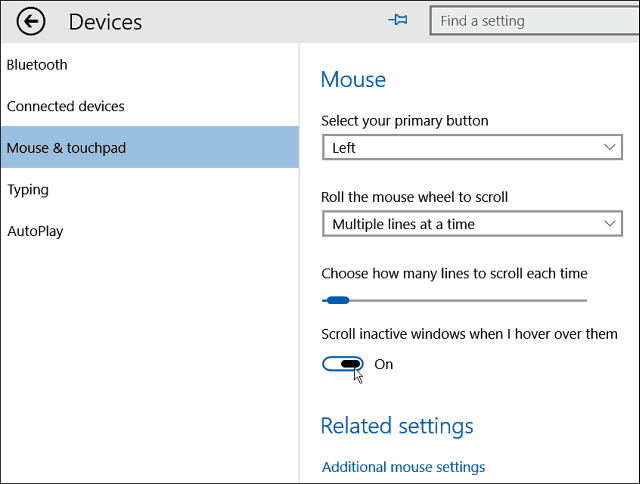
To enable scrolling inactive windows, open Settings > Devices > Mouse & Touchpad. From there toggle on Scroll inactive windows when I hover over them.
This comes in handy for research and writing documents. For example, if you snap two or more screens side-by-side you can scroll through each one without having to click it to put focus on it. You just simply hover your mouse over the window you want to scroll and start. This saves you a few clicks, and makes it easier than opening separate tabs in a browser, and constantly switching back and forth. And this will work with your mouse, keyboard, or touchpad.
This isn’t anything new as Linux and OS X have had this feature for quite some time, and it’s long overdue for Windows. There are third-party utilities that allows this, like KatMouse which we’ve covered before. But the cool thing here is the feature is built into Windows 10, and you don’t need to rely on third-party mouse software to get a similar behavior. While this is a small improvement, it’s a welcomed one, and we often say here: It’s the little things that make a big difference. Thanks! Comment Name * Email *
Δ Save my name and email and send me emails as new comments are made to this post.


![]()
